


Inspections
These instructions will give you the basics of the inspection task, statuses and how to fill the report template in the mobile app and web.
Overview
When the insurance company has assigned an inspection task to the company, the office will also receive an e-mail with information about a new task.
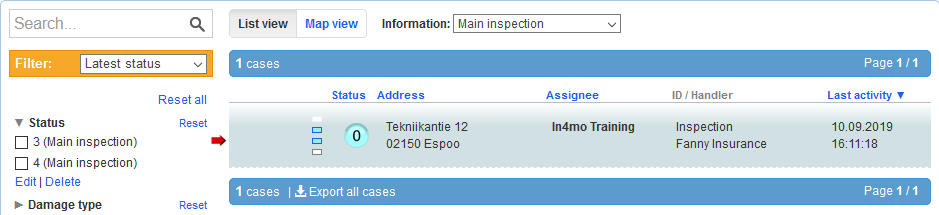
First step, is to log in to the correct portal and choose the correct case by clicking on it from the case list.
When the case has been opened and viewed, the status for the inspection task will switch to status ![]()
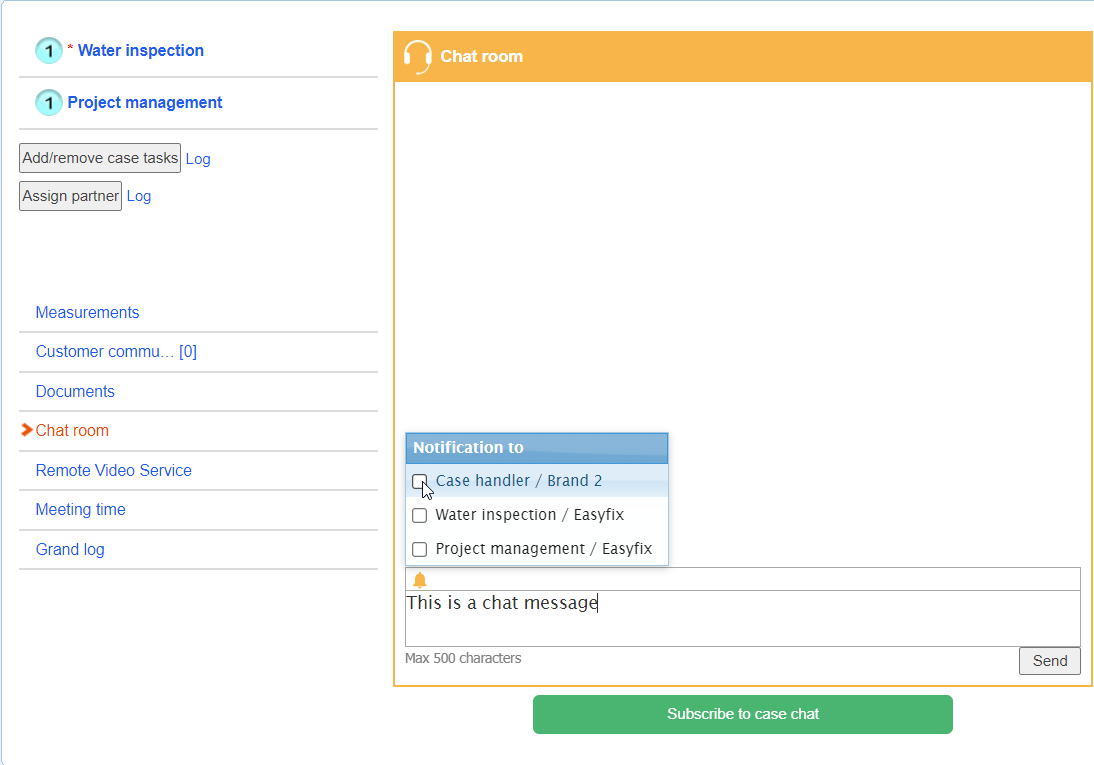
By clicking on the button Assign members
underneath the task list to the left, a pop-up window opens, where a responsible person can be assigned to the task. By clicking the Assign members button and by clicking on the Edit button next to Inspector, a third pop-up window Edit assignes opens. Here the Employees
list is showing all the available employees, that the inspection task can be assigned to.
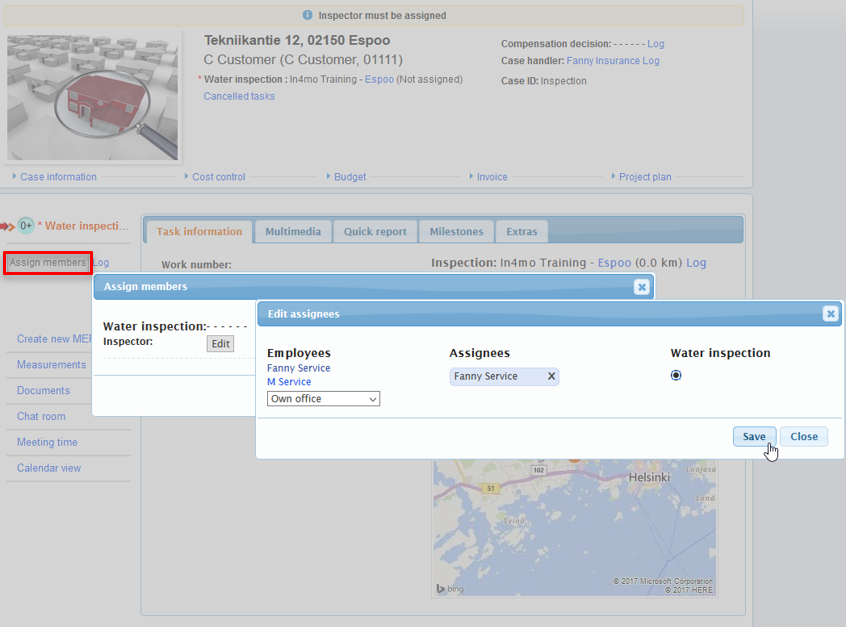
By clicking on the circle, under the inspection task, it will show a black dot in the middle. By clicking Save the pop-up window will close and it will confirm the selection. In the remaining Assign members pop-up window, when all the editing of the task assignments are done, the Save button needs also to be clicked, for to do the final confirmation of the selections. The inspector can also be re-assigned, in the inspection task’s Task Information tab, by clicking next to the Inspector on the right above the map the Choose button.

The assigned inspector will now receive the inspection task to their mobile application and the status for the task switches from ![]() to
to ![]()
Inspection report on a tablet
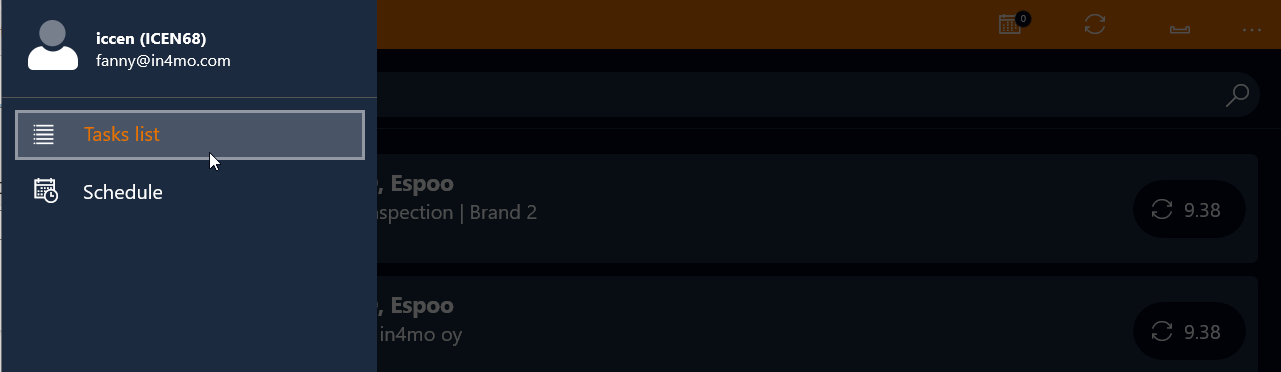
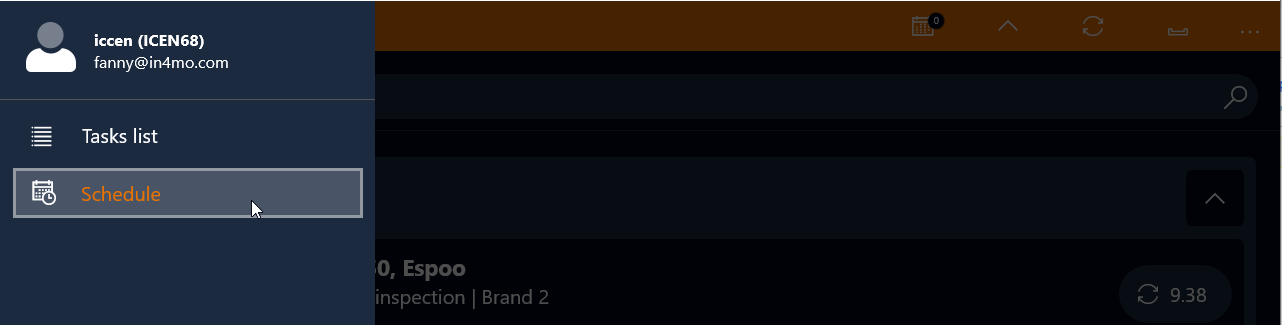
The Task Reporter shows an own personal task list, where all those tasks can be seen, that a user have been personally assigned to in cases. Certain tasks can be filtered out, by clicking on the field with a magnifying glass above the task list and write in e.g. the address. It is also possible to choose the assigned tasks to show in the mobile app as scheduled or as a task list.
When a new task has been received, it will appear in the task list in the application. If the task cannot be seen, then updating of the task list can be tried, by swiping down with a finger on the screen whilst being on the task list view. To open the task, it can be done by clicking on it.
When a task has been opened, the task information can be seen to the right next to where the site picture will be. At the bottom, two options/tabs are shown: DESC and CHAT ROOM. When opening a task, the DESC tab is the default view, which is shortened from Description. From this view, user can navigate to the CHAT ROOM tab, where a user can communicate with and read messages from other assignees involved in the case. This feature is explained closer further on.
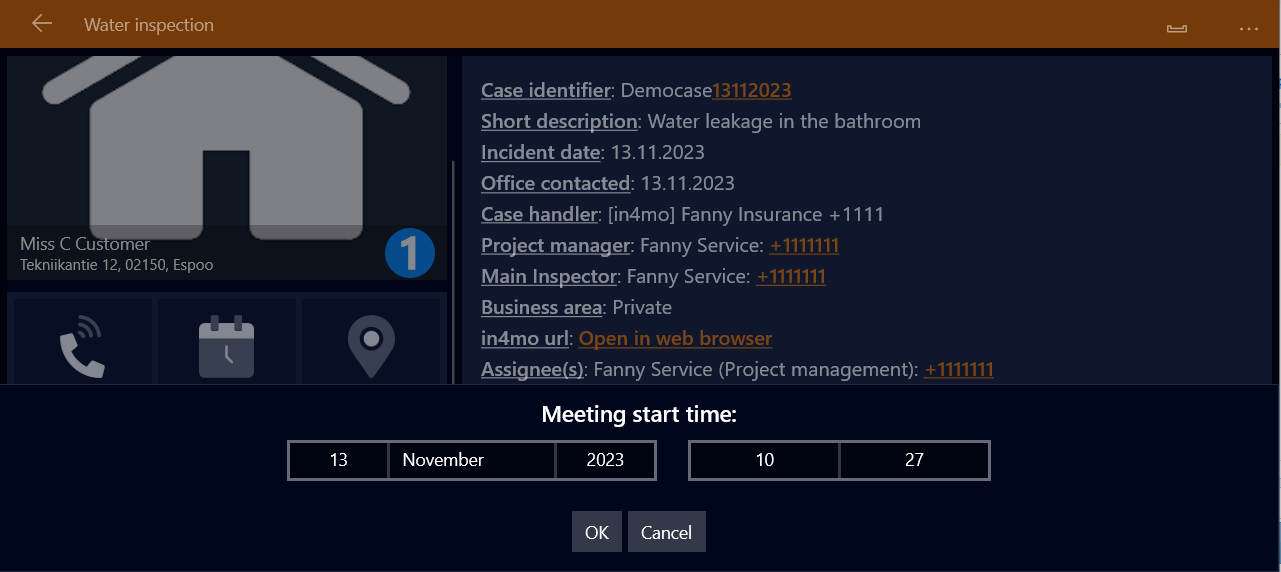
First thing to do here, is to schedule a meeting time with the customer for the inspection. By clicking on the Call icon, it is possible to call the customer to agree the meeting time. When the time has been agreed, the time can be scheduled by clicking on the Set meeting time button, under the site picture. When the selection of the date has been made and by clicking OK, the selection will be confirmed.
The next step is to take the site picture by clicking the Take picture of the site button. At this point, access to fill out the work plan is available.
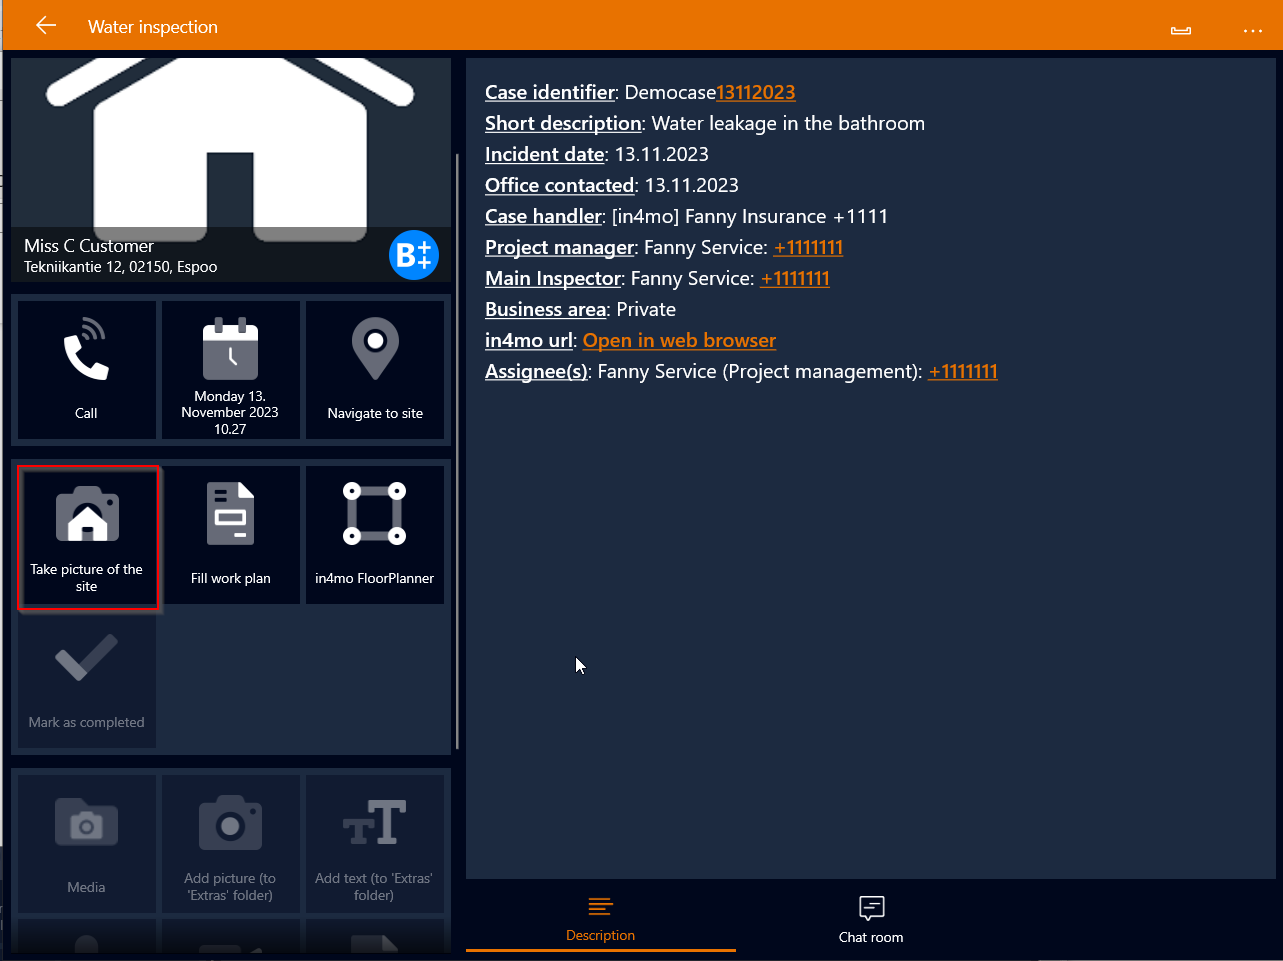
When the site picture has been taken, it will appear in Task Reporter right where the default picture was.
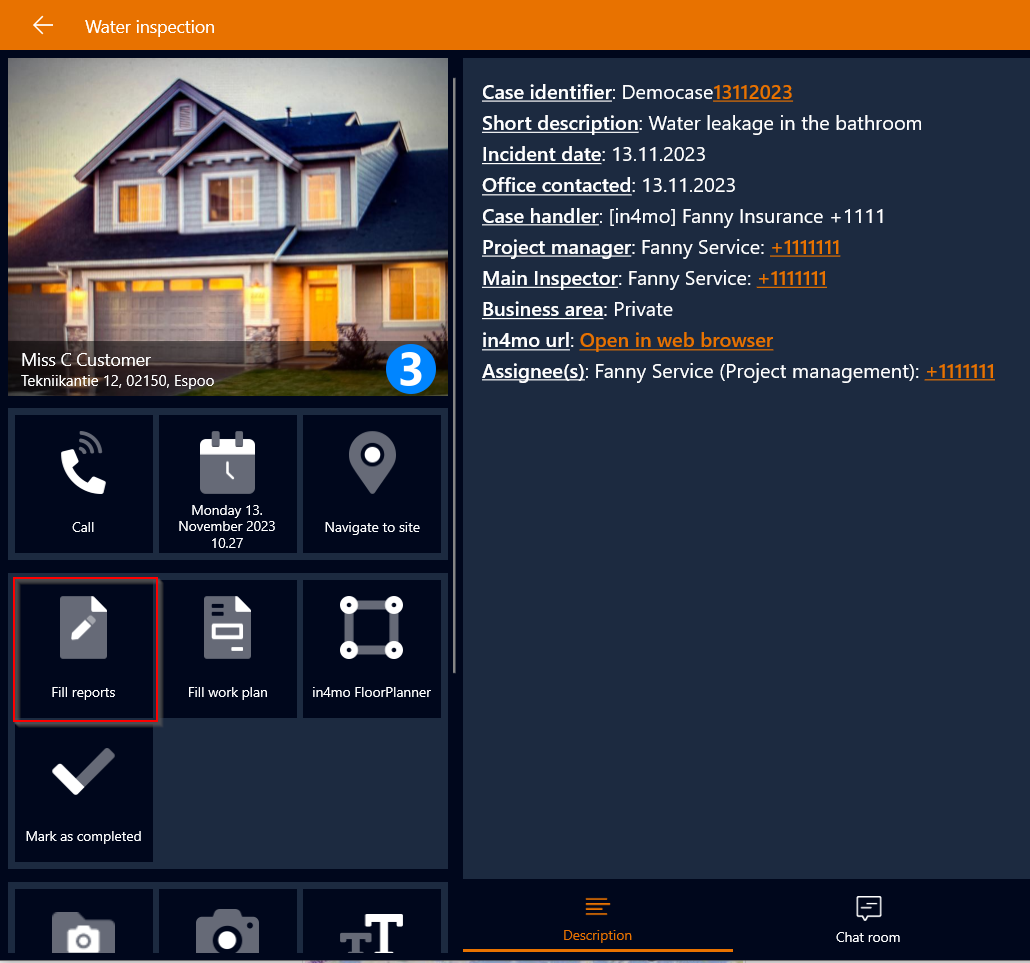
As the site picture has been uploaded to the case, the task switches the status to ![]() . This is when other accesses to the different functions of the task in Task Reporter are available. To begin to report the inspection, it can be done by filling out the report, by clicking the Fill report button.
. This is when other accesses to the different functions of the task in Task Reporter are available. To begin to report the inspection, it can be done by filling out the report, by clicking the Fill report button.
When using a tablet to report from the damage site, the inspection report template can be opened directly in the application. Using the tablet, it is possible to upload the finished report from the app via Create Report button in the report view, instead of having to upload it in the web portal separately.
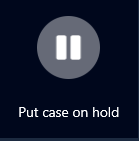
If for some reason it is not possible to complete the inspection and there is a need to interrupt it, the case can be put on hold by clicking the Put case on hold
button. When continuing the reporting of the task e.g. by taking a picture, the case will automatically go back to being an active case.
Possible mandatory fields have a red frame around them in the report view. These fields must be filled out before the task can be marked as ready. The application will also inform a user about this separately in case any of the mandatory fields have not been filled out.

In the report template, if a user wants to mark the inspection as completed, it can be done by clicking the MARK AS COMPLETED button. To create and upload the inspection report at the same time, when marking the inspection as ready, it needs to be made sure that from the pop-up window that appears, the desired report is selected for creation. After that, by clicking the ‘Yes’ button, creation and uploading of the report will be done. If something needs to be modified later in the report in the mobile app, it can be done by uploading a new, updated version of the report by clicking the CREATE REPORT option.


Mark as completed button, if the task should be marked as completed, in the mobile app options outside of the report view.
When marking the inspection task as completed, the status for the inspection task will switch to status![]()
If only choosing to create/upload the report for the inspection task but not marking the task as completed, the status for the inspection task will remain in status ![]() until it is being marked as completed.
until it is being marked as completed.
Reporting on a smartphone
Reporting with a smartphone, differs a little from reporting with a tablet.
As the new task is visible on the smartphone, then by clicking on it, a user can see more details, for to start with the reporting.
By clicking on the phone icon Call, a user can call the customer. To set a scheduled meeting time, it can be done by clicking Set meeting time. To navigate to the damage site, it can be done by clicking on the map icon Navigate to site.

When the meeting time is scheduled and it is agreed with the customer, the status of the task switches to ![]()
To see more information about the case, it can be done by clicking on the DESC (description) tab.
Once the meeting time is scheduled, then the inspection can begin. To start reporting, is to first take a picture of the site, by clicking on Take picture of the site camera button.

When the site picture has been taken, the inspection task switches the status to ![]() and the next step is to start reporting on the damage site, by clicking on the Fill report button.
and the next step is to start reporting on the damage site, by clicking on the Fill report button.
There may be mandatory fields in the report, that need to be filled out before the inspection task can be marked as completed. These fields are marked as Mandatory next to the field. A field in the report can be opened by clicking on it. When the necessary information has been filled in and it can be saved, the next step is to click Send, so that the information gets synchronized to the portal. It is also possible to fill in the other fields, add texts or pictures in the report if needed to.

When the inspection is finished, the next step is to click on the Mark as completed button, for the type of inspection that was being executed; water inspection, fire inspection, general inspection or other. NOTE! The inspection report does not generate itself automatically to the portal, when inspection is reported on a smart phone device. The report has to be manually created and saved in the portal on a PC, after the inspection task is marked as completed in the case under Documents. However, a web report will be available in the portal automatically. We will tell more about how to create and upload a document to the portal and also what feature the web report is further on.
Additional pictures and text, as well as measurements and audio- and videomaterial can be added to the case via the ACTIONS tab. These added materials will not be included in the report.

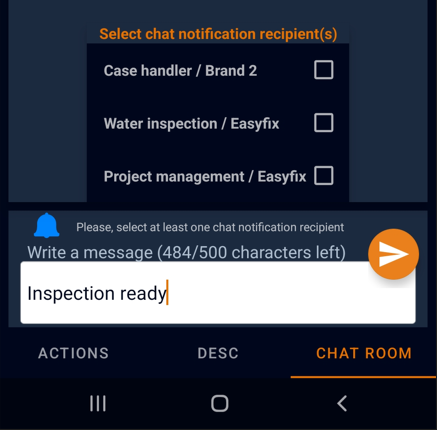
Chat messages can be sent/received under the CHAT ROOM tab to/from all the parties, that are somehow involved in the case, such as the case handler and other assigned members for the other tasks in the case.
A message can be sent by first clicking the blue bell icon to choose the recipient(s), and then the orange arrow to send the message. Before the message can be sent out, at least one recipient needs to be selected from the list that opens.
Chat messages are also visible in the portal in the Chat room option.
Inspections in the web portal
Multimedia

The reported information is stored and visible under the Multimedia -tab in the web portal. Pictures, video- and audio materials can be viewed and a picture can be enlarged by clicking on it.

Text can be added to a picture by clicking on the Edit
option.

Pictures can be uploaded from own PC folders to the case by choosing a picture and clicking Add
NOTE! To ensure that the pictures are included in the final report, the pictures should be added through the Web report instead.
Web reports

Everything reported in the report view during the inspection from the mobile application are also stored under the Reports tab, where the reported information can be viewed in the same report format used in a tablet, and from where the inspection report can be generated, so that it is added to the document library.
NOTE! There is also the possibility to report inspections directly in the web portal. You will find more information about that here: Reporting in the Webportal.
Extras
It is possible to send pictures and text messages to Extras
folder from the mobile application. These pictures will not be visible in the report. Items can be moved from this folder to Multimedia, by choosing Move to multimedia if an item should be included in the inspection report. Similarly, items from Multimedia can be moved here, if the items should not be included in the report.
Creating an inspection report in the portal
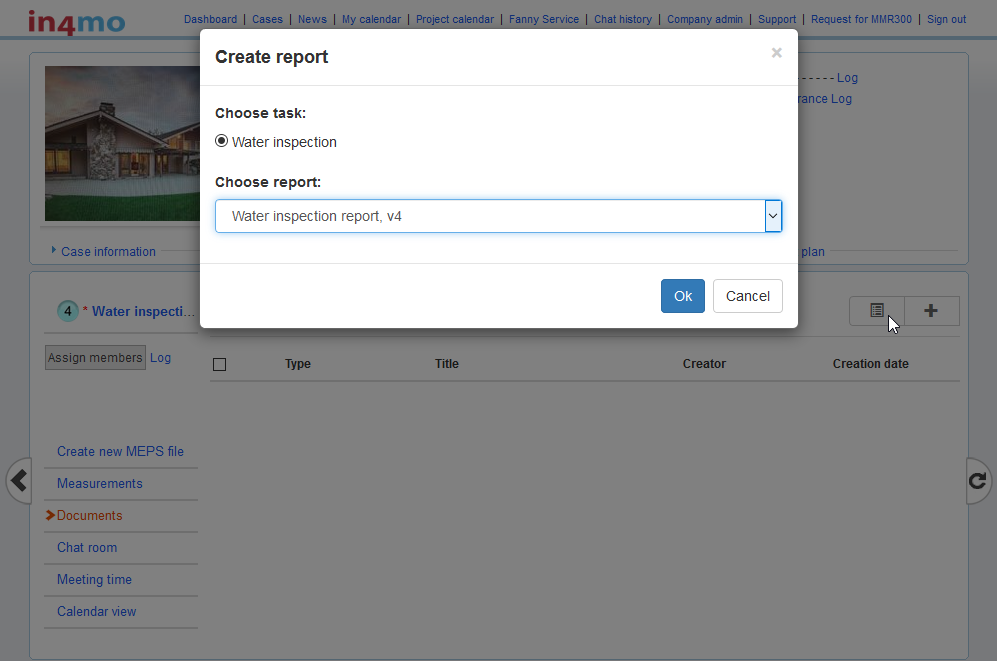
From the Documents
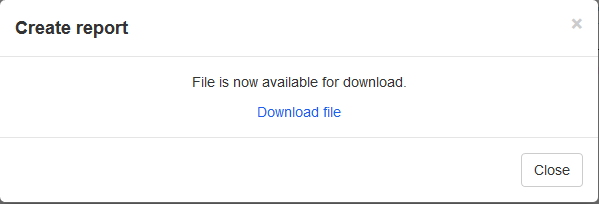
option in the menu on the left, the report can be created, by choosing the  button . From the task list in the pop-up window that opens, the task needs to be chosen for which the report should be created to. From the dropdown menu, the type of the report needs to be chosen for downloading. When both selections are done, the next step is to click OK, after which the selected report can be downloaded in the next pop-up window that open, by clicking Download file.
The report opens as a Microsoft Word document or with some other program, that is being used on the computer that supports .docx -format. If necessary the report can be edited but important is to save it afterwards on the computer files, so the added information in it does not get lost.
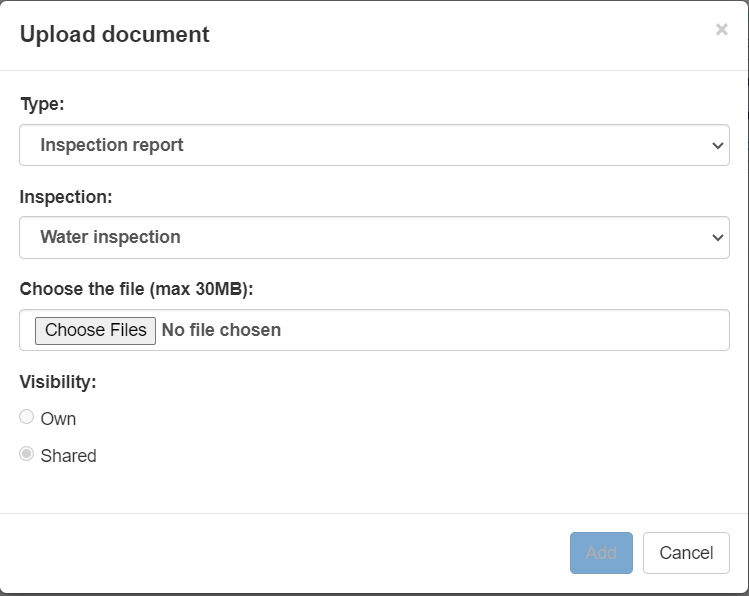
When the report is ready and saved on a PC file, the next step is to click on the ![]() button and choose the saved report. Next, by clicking the Add button, the report will be uploaded.
button and choose the saved report. Next, by clicking the Add button, the report will be uploaded.
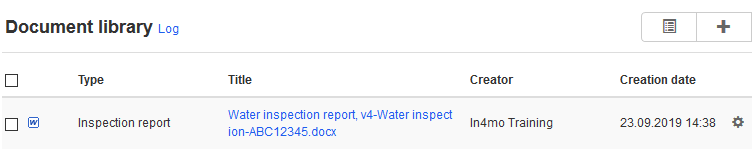
The documents in the Document library can be opened by clicking on the title of the document.